Hyrox Rowing Guide: 1,000m Pacing, Technique & Training
Master hyrox rowing with split targets by finish category, stroke technique, damper settings, and training workouts to row fast even when fatigued.
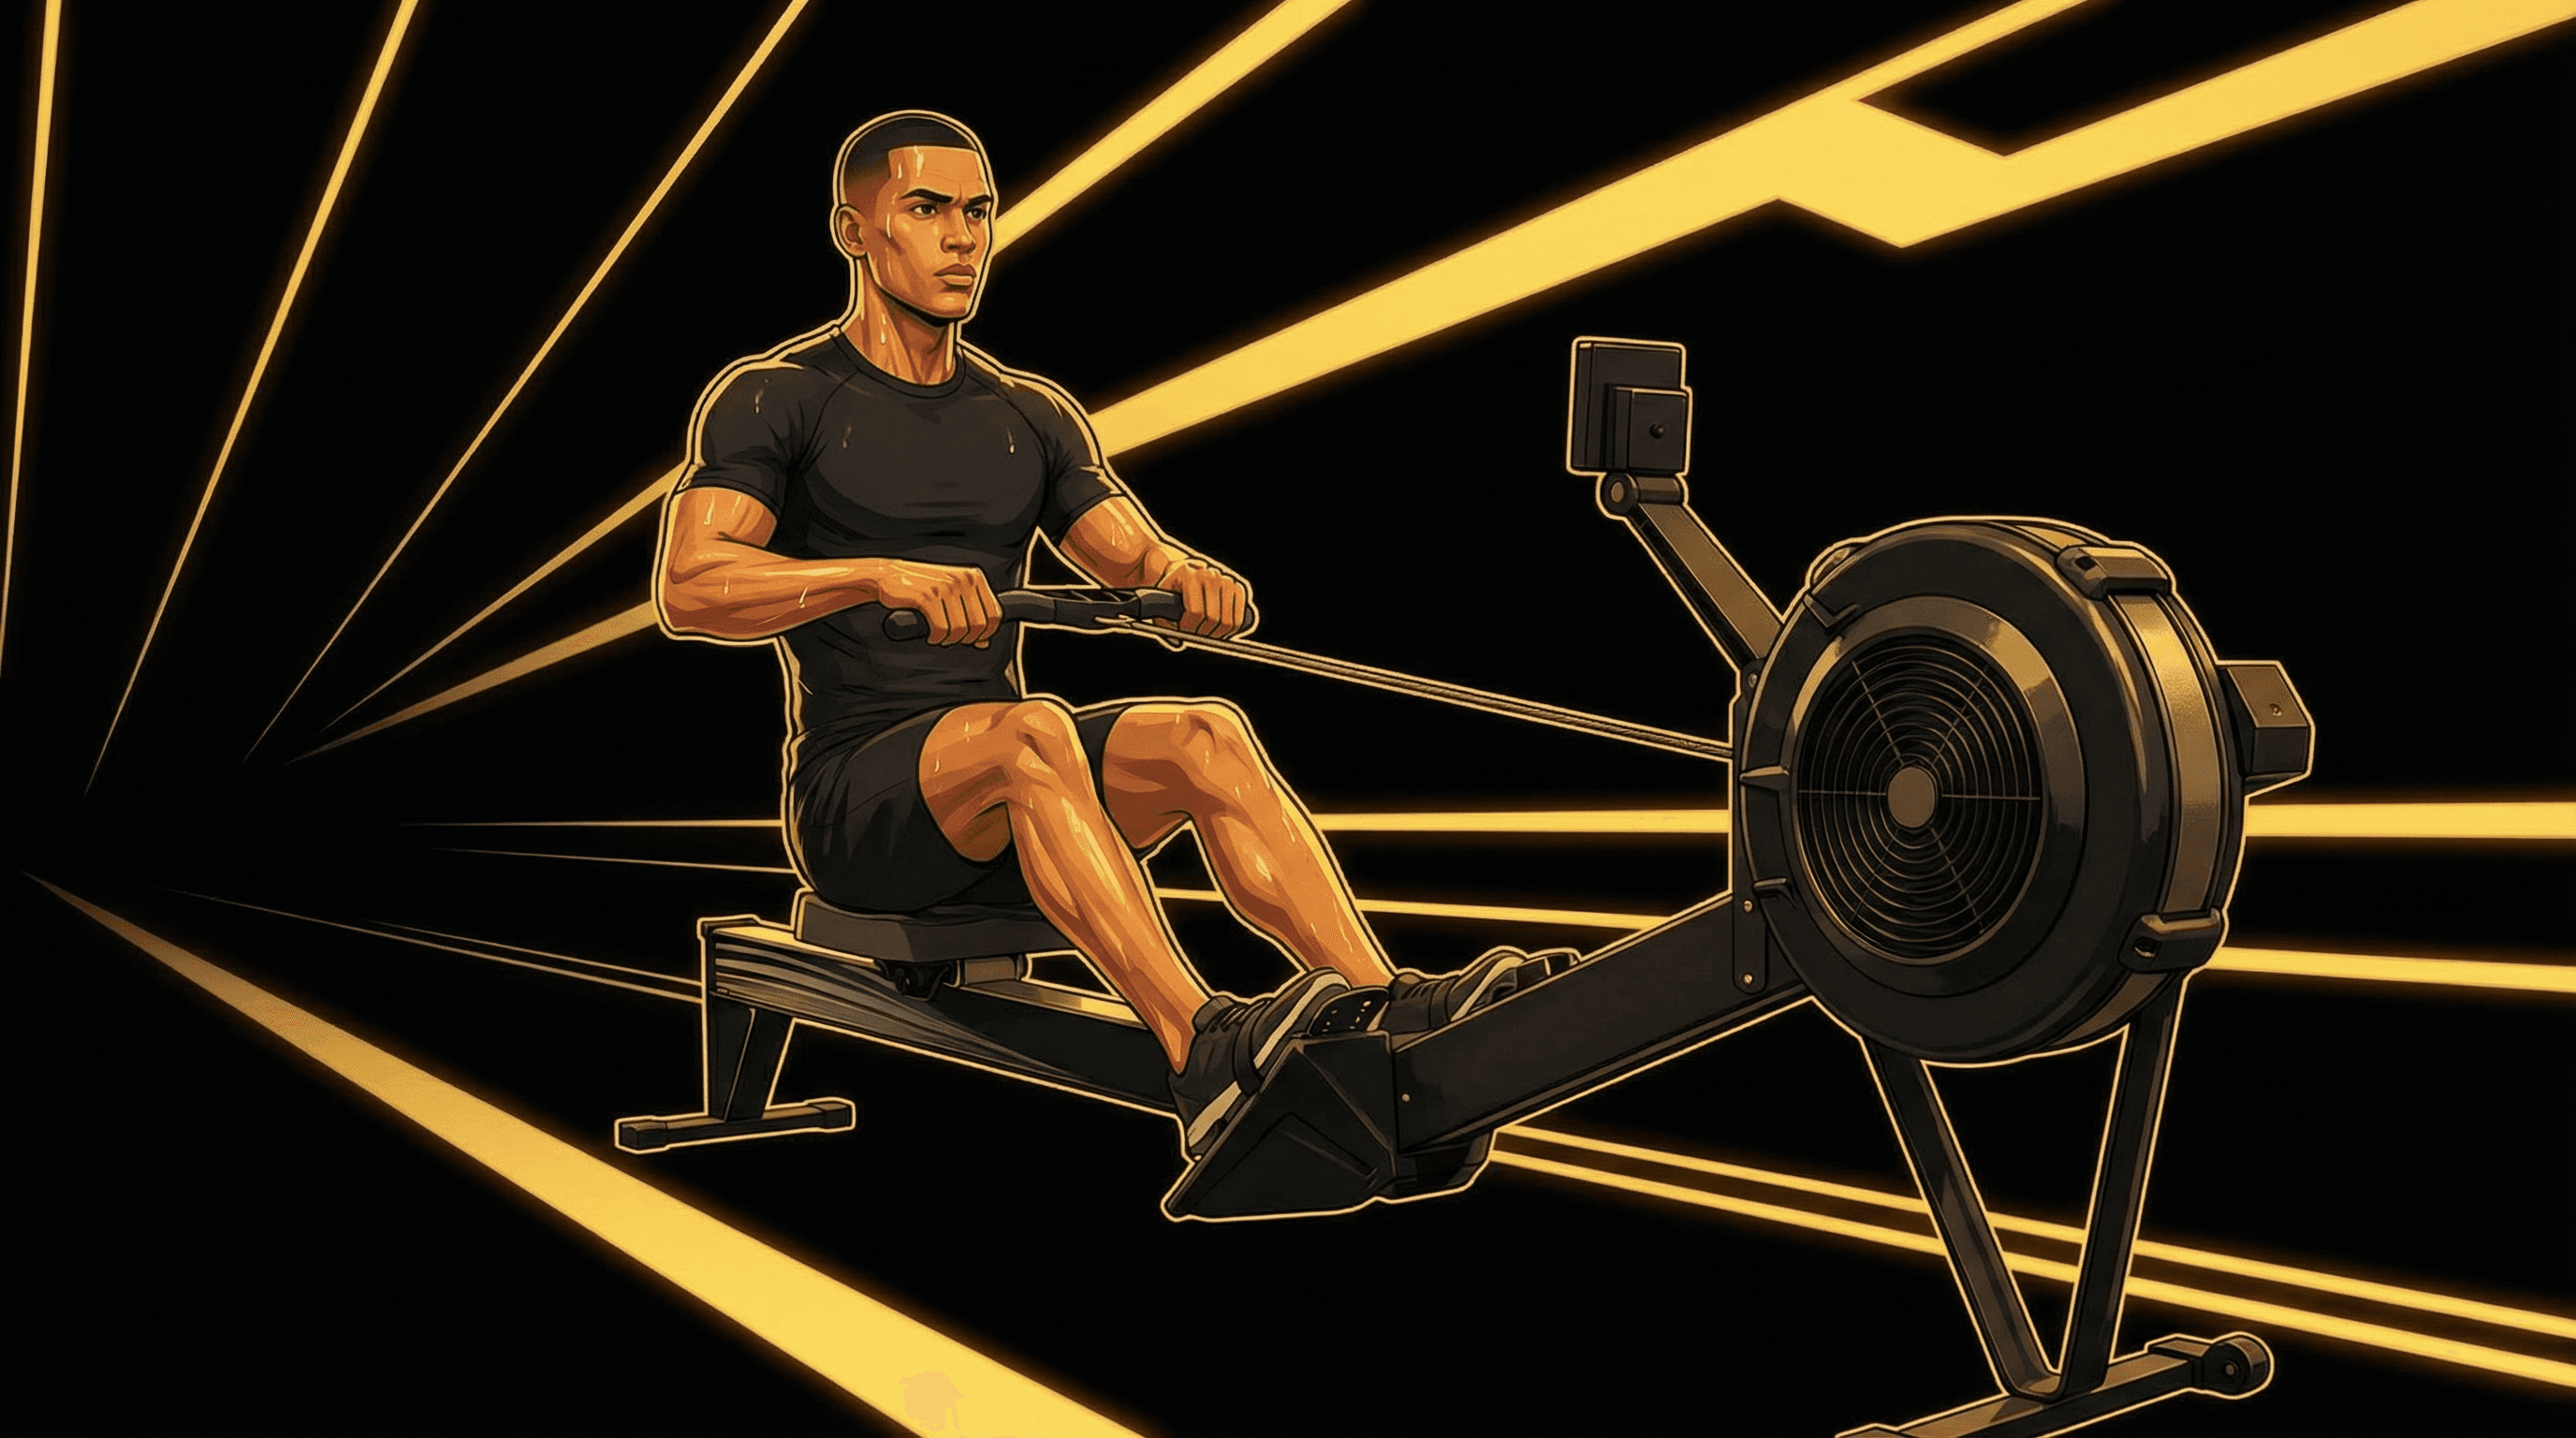
Rowing is Station 5 in every HYROX® race, and it arrives at the worst possible moment. You've already banked 5km of running, pushed and pulled a sled, and crawled through 80m of Burpee Broad Jumps. Your heart rate is near its ceiling. And now you need to sit down, strap in, and pull 1,000 meters on a Concept 2 rower without blowing up.
Across 800,000+ race entries in the ROXBASE database, the rowing station consistently separates athletes who've trained their pacing from those who haven't. A well-executed 1,000m row takes between 3:20 and 4:30 for most competitors. A poorly paced one? It can cost you 45 seconds and wreck your legs for the three stations that follow.
This guide covers the exact distance, the machine you'll use, the technique that matters under fatigue, a pacing strategy built on real split data, and the workouts that prepare you for race day. Every recommendation is grounded in data from 700,000+ athlete profiles and the training principles behind the ROXBASE app.
Rowing in HYROX®: Distance & Machine
The HYROX® rowing distance is 1,000 meters, identical across every division: Open, Pro, Doubles Open, Doubles Pro, and Mixed Doubles. In Doubles, both partners must complete 500m each on the same machine (one rows, then they switch). There is no weight variation by gender or division for this station. The distance stays at 1,000m.
The machine is always a Concept 2 RowErg (formerly called the Model D or Model E, now unified under the RowErg branding). If you've trained on any Concept 2 rower built in the last decade, you'll recognize the PM5 monitor, the air resistance flywheel, and the nickel-plated chain. No water rowers. No magnetic resistance machines. Concept 2 only.
This matters for your preparation. A Concept 2 uses air resistance, which means the harder you pull, the more resistance you encounter. The feel is different from water or magnetic rowers. If your gym doesn't have a Concept 2, you can still build rowing fitness on other machines, but you should get at least 4-6 sessions on a Concept 2 before race day to calibrate your pacing. For a deeper breakdown of what to expect from the machine and how to set it up, read our guide on Concept 2 rower setup for HYROX®.
One detail that catches first-timers off guard: the monitor resets to zero when you sit down. You row until it reads 1,000m. There's no countdown timer. You watch the meters climb. This psychological framing matters more than you'd think. Watching numbers crawl from 0 to 1,000 feels longer than watching a countdown from 1,000 to 0. Prepare for it mentally.
For context within the race, rowing comes after the Burpee Broad Jumps (Station 4) and before the Farmers Carry (Station 6). This placement is significant. You arrive at the rower with your legs already compromised, your breathing elevated, and your grip fatigued from the sled and broad jumps. The HYROX® rowing distance explained article breaks down why 1,000m is the sweet spot that tests both power and aerobic capacity without being long enough for pure endurance athletes to dominate.
Coach's Note: If you're training at a gym without a Concept 2, prioritize at least one session per week at a facility that has one. The drag curve and handle feel are distinct. Race day is not the time to learn a new machine.
Rowing Technique for HYROX®
Clean rowing technique is worth 15-25 seconds on a 1,000m piece. That's not a guess. It's what we see when comparing stroke efficiency data between athletes of similar fitness levels in the ROXBASE database. The faster athletes aren't always fitter. They're more efficient per stroke.
HYROX® rowing technique differs from pure rowing sport in one key way: you're not fresh. You arrive at the rower 35-50 minutes into a race with fatigued legs, an elevated heart rate, and grip that's already been taxed. Your technique must be energy-efficient, not maximal. The goal is smooth power, not peak wattage. For a complete form walkthrough, our HYROX® rowing technique guide covers every phase in detail.
The two biggest efficiency leaks we see are early arm pull (yanking the handle before the legs finish driving) and a rushed recovery (sliding back to the catch too quickly, which wastes energy and disrupts rhythm). Fix those two issues and you'll row faster at a lower heart rate.
Catch, Drive, Finish & Recovery
The rowing stroke has four phases. Each one matters, but the drive is where your power comes from, and the recovery is where your rest happens. Understanding this ratio is what separates efficient rowers from those who gas out at 600m.
The Catch: Shins vertical. Arms straight. Shoulders slightly ahead of hips. Grip relaxed but secure (hook grip, not a death squeeze). Your lats should feel engaged before you push. Think of "hanging" off the handle. Don't over-compress: your shins should be roughly perpendicular to the floor, not angled past 90 degrees. Over-compressing shortens your power phase and loads your lower back.
The Drive: The drive is a push, not a pull. Press through your heels first. Legs do roughly 60% of the work, the hip hinge adds 20%, and the arms finish the last 20%. The sequence is legs → hips → arms, and it should feel like one continuous motion, not three separate movements. A common cue: "Push the footplate away from you." If you're pulling with your arms before your legs straighten, you're bleeding power.
The Finish: Handle draws to your lower ribs. Slight lean back (about 1 o'clock position, not 2 o'clock). Elbows drive past your torso. Shoulders are down and relaxed. Don't yank the handle into your chest. The finish is a controlled tap, not a slam.
The Recovery: This is where you rest. The recovery should take roughly twice as long as the drive. The sequence reverses: arms extend first, then hinge forward at the hips, then bend the knees to slide forward. Rushing the recovery is the single most common mistake in HYROX® rowing. You're not resting on the recovery if you're scrambling back to the catch. Slow the slide. Let your heart rate settle. Your next stroke will be more powerful for it.
Key ratio: Aim for a 1:2 drive-to-recovery ratio. If your drive takes 0.8 seconds, your recovery should take about 1.6 seconds. This pacing rhythm keeps your heart rate manageable and your power consistent.
Damper Settings
The Concept 2 damper lever sits on the side of the flywheel housing, numbered 1 through 10. It controls airflow into the flywheel. Higher settings mean more air, which creates more resistance per stroke. But here's what most athletes get wrong: a higher damper setting does not mean a harder workout. It means a different workout.
Think of the damper like a bike gear. A high gear (damper 8-10) requires more force per stroke but moves the flywheel less per pull. A low gear (damper 1-3) lets you spin faster with less force. For HYROX®, you want the middle ground: enough resistance to generate good meters per stroke, but not so much that each pull taxes your already-fatigued legs.
Recommended range for most HYROX® athletes: damper 4-6. This translates to a drag factor of roughly 110-130 on the PM5 monitor. Pro-level athletes with strong pulling power might go to 6 or 7. Lighter athletes or those prioritizing stroke rate over stroke power should stay at 4-5.
One practical tip: check the drag factor, not just the damper number. Dust buildup, altitude, and temperature all affect the actual resistance. A damper setting of 5 on one machine might feel like 6 on another. On the PM5, go to More Options → Display Drag Factor. Do a few strokes and note the number. Aim for your target drag factor, and adjust the damper accordingly. For a full breakdown of how different settings affect your race performance, check out our Concept 2 rower workouts for HYROX® prep guide.
| Damper Setting | Approx. Drag Factor | Best For |
|---|---|---|
| 3-4 | 95-115 | Lighter athletes (<70kg), high stroke rate strategy |
| 5-6 | 115-135 | Most HYROX® athletes (recommended default) |
| 7-8 | 135-155 | Strong, heavy athletes with high pulling power |
1,000m Pacing Strategy
The 1,000m row is short enough that pacing errors are brutal and long enough that you can't sprint through it. Athletes who go out too fast in the first 250m almost always fade. Their average split climbs by 8-12 seconds per 500m in the second half, and they stumble off the rower with legs that won't cooperate for the Farmers Carry.
The best approach: negative split or even split. Row the first 500m at a controlled, sustainable pace, then hold or slightly increase your intensity over the second 500m. Your first 250m should feel "too easy." That's the signal you're doing it right.
In race conditions, adrenaline and crowd noise push athletes to open 5-10 seconds faster than their training pace. Account for this. Set your target split before you sit down and stick to it for the first 20 strokes. After that, your body will settle into rhythm. Our HYROX® 1,000m row pacing guide covers split-by-split strategy for every finish time.
Target Splits by Finish Time
Your split is the time it takes to row 500 meters, displayed on the PM5 as your "/500m" pace. This is the single most important number on the monitor during your row. Here are target splits based on your desired 1,000m finish time:
| 1,000m Target | Avg /500m Split | First 500m Split | Second 500m Split | Typical Division |
|---|---|---|---|---|
| 3:20 | 1:40 | 1:42 | 1:38 | Pro Male |
| 3:40 | 1:50 | 1:52 | 1:48 | Pro Female / Fast Open Male |
| 4:00 | 2:00 | 2:02 | 1:58 | Mid-pack Open |
| 4:20 | 2:10 | 2:12 | 2:08 | Open / First-timer |
| 4:40 | 2:20 | 2:22 | 2:18 | First-timer / Recreational |
Notice the pattern: start 2 seconds slower than your average, finish 2 seconds faster. This small negative split prevents the catastrophic fade that ruins so many athletes' rows. A 2-second cushion on the front end translates to feeling composed and strong for the final 300m instead of hanging on.
For a printable version of these pacing targets, our rowing machine pace chart for HYROX® targets breaks it down into 250m segments.
Stroke Rate Strategy
Stroke rate (strokes per minute, or s/m) is the other dial you can control. A higher stroke rate means more pulls per minute, but less rest between strokes. A lower stroke rate means more rest, but each pull must generate more meters.
For a 1,000m row in HYROX®, target 26-32 strokes per minute for the main body of the piece. Here's a breakdown by phase:
First 10 Strokes (Start)
- Rate: 32-36 s/m
- Purpose: Build flywheel momentum
- Feel: Aggressive but controlled leg drive
- Don't yank the handle - push the feet
Strokes 11-40 (Settle)
- Rate: 26-30 s/m
- Purpose: Find sustainable rhythm
- Feel: Smooth, breathing in sync with strokes
- 1:2 drive-to-recovery ratio
Final 250m (Push)
- Rate: 30-34 s/m
- Purpose: Increase pace without losing form
- Feel: Controlled urgency, legs still leading
- Focus on strong finishes, not faster slides
A common mistake is rowing at too high a stroke rate throughout. If you're pulling at 34-36 s/m for the entire 1,000m, you're not resting enough between strokes. Your heart rate spikes, your form breaks down, and your power per stroke drops. The result: you work harder but go the same speed (or slower) than someone at 28 s/m with better technique.
The math is straightforward. At 28 s/m with a 2:00/500m pace, you'll complete the row in roughly 56-58 strokes total. That's 56 chances to apply clean force. Make each one count.
Race-day rule: Glance at the monitor every 10 strokes. Check your split and stroke rate. If your split is on target, don't change anything. If it's drifting up, add 1-2 points of stroke rate or focus on a stronger leg drive, not both.
Rowing Workouts for HYROX®
Training the 1,000m row for HYROX® isn't about logging endless meters at a steady state. It's about building pace-specific power under fatigue. Your rowing workouts should simulate the conditions you'll face on race day: elevated heart rate, tired legs, and a fixed distance that demands controlled output.
Here are five workout types that cover the full spectrum of what you need. Aim to row 2-3 times per week during your HYROX® prep, rotating through these formats. For a complete 4-week progression, our 4-week rowing plan for HYROX® lays out every session.
1. Pace Lock Intervals (learn your split)
4 x 500m at your target race split, with 90 seconds rest between rounds. The goal: hold the exact same split (±1 second) on every interval. This teaches your body what race pace feels like. If your target is a 4:00 row, hold 2:00/500m on each rep.
2. Over-Under Intervals (build pace control)
6 x 250m alternating between 3 seconds below target split and 3 seconds above. Example for a 2:00 target: 250m at 1:57, 250m at 2:03, repeat. Rest 60 seconds between reps. This trains your ability to shift gears without losing rhythm.
3. Fatigued 1,000m Test (simulate race conditions)
Run 1km at your HYROX® run pace, then perform 20 Burpee Broad Jumps, then immediately row 1,000m. Record your split. The gap between your fresh 1,000m time and this fatigued time reveals how much technique you lose under stress. Aim to close that gap to under 10 seconds over your training block.
4. Stroke Rate Pyramid (develop efficiency)
Row for 2 minutes at 24 s/m, 2 minutes at 28 s/m, 2 minutes at 32 s/m, then come back down. Try to maintain the same /500m split at each stroke rate. This teaches you to find power at different cadences, which gives you options on race day.
5. 10 x 100m Sprints (build power)
10 rounds of 100m all-out effort with 45 seconds rest. Focus on explosive leg drive and a clean catch. Your /500m split on these should be 8-12 seconds faster than your race pace. This builds the top-end power that makes your race pace feel more comfortable.
For 15 more rowing workout variations with specific targets, see our 1,000m row workouts collection. If you're new to the rowing machine, start with our rowing for beginners guide to build your base before adding intensity.
| Week | Session 1 | Session 2 | Session 3 (Optional) |
|---|---|---|---|
| 1-2 | Pace Lock Intervals | Stroke Rate Pyramid | Steady 2,000m at easy pace |
| 3-4 | Over-Under Intervals | 10 x 100m Sprints | Fatigued 1,000m Test |
| 5-6 | Pace Lock (reduce rest to 60s) | Fatigued 1,000m Test | Over-Under Intervals |
| 7-8 | Race simulation (full Burpee Broad Jump → Row combo) | 10 x 100m Sprints | Easy 2,000m (taper week) |
Coach's Note: Don't skip the fatigued test. Your fresh 1,000m time is irrelevant for HYROX® planning. The only number that matters is what you can row after 5km of running and four stations of work.
After Burpee Broad Jumps: Recovery
The transition from Burpee Broad Jumps to the rower is one of the most underestimated moments in a HYROX® race. Burpee Broad Jumps (Station 4) are a full-body, high-heart-rate assault that leaves your quads burning, your hip flexors tight, and your breathing ragged. Then you run another 1km before reaching Station 5. By the time you sit on the rower, your body is screaming for rest.
The temptation: collapse onto the rower and start pulling immediately to "get it over with." The smarter approach: take 5-10 seconds to set up properly. Those seconds pay for themselves.
Your transition checklist (practice this in training):
- Feet first. Strap in with the strap across the ball of your foot, not your toes. Snug but not tight. 3 seconds.
- Two setup strokes. Take two light, half-length strokes at low power. This builds initial flywheel speed without spiking your heart rate. 4 seconds.
- Find your split. On stroke 3, glance at the monitor. Check your /500m pace. Lock into your target.
- Breathe. Coordinate your breathing with the stroke. Exhale on the drive, inhale on the recovery. This alone can drop your heart rate by 5-8 bpm within the first 200m.
The biggest risk in this transition is starting at a stroke rate of 34+ because your body is still in "fight" mode from the broad jumps. Force yourself to settle into 26-28 s/m within the first 10 strokes. The slower recovery phase acts as active rest for your cardiovascular system while your legs do the work.
Our data from returning athletes shows that those who practice the Burpee Broad Jump-to-row transition in training improve their rowing station time by an average of 8-12 seconds compared to their first race. It's not fitness. It's preparation. Read the full rowing after Burpee Broad Jumps breakdown for specific warm-down protocols you can train.
One more detail: your legs will feel different in the first 200m of rowing than in the last 800m. The quad fatigue from broad jumps creates a "dead leg" sensation in the catch position. Push through the first 200m at your target split (not faster) and the feeling fades as blood flow normalizes. Panicking and increasing your effort here is a trap.
Transition Time Saved by Preparation
Athletes who practice the BBJ-to-row transition in training save an average of 8-12 seconds on their rowing station time compared to their first race. Across 800,000+ race entries, rowing is also where cardiovascular fitness from running transfers directly. That 1km run between stations is where you recover, so building rowing endurance also means building your ability to use the run as active rest.
Common Rowing Mistakes
After analyzing hundreds of thousands of race entries, patterns emerge. The same mistakes show up at every race venue, in every division, from first-timers to experienced athletes. Fix these five errors and you'll row faster with less effort.
1. Starting too fast. This is mistake #1 for a reason. 70% of athletes we see in race data have a first 250m split that's 5+ seconds faster than their average. That early burst feels powerful but costs you dearly. By 600m, your legs are flooded with lactate and your split is climbing. The fix: set your target split before you start, and hold it from stroke 3. Our 5 rowing mistakes in HYROX® article quantifies exactly how much time a hot start costs you.
2. Arms before legs. When fatigue sets in, athletes revert to pulling with their arms instead of pushing with their legs. Your arms are small muscles. Your legs are the largest muscle group in your body. If your arms are sore after rowing, your sequencing is off. Film yourself. If your arms bend before your legs are straight, drill the sequence: legs → hips → arms.
3. Death grip on the handle. A tight grip fatigues your forearms in under 2 minutes and directly affects your Farmers Carry (Station 6, coming right after rowing). Use a hook grip: fingers draped over the handle, thumbs underneath. Your grip should be firm enough to control the handle and loose enough that your forearms stay fresh. You'll need that grip for the 200m Farmers Carry that follows.
4. Ignoring the damper. Many athletes sit down and row at whatever damper setting the last person left. That might be a 9 (too heavy, shredding your legs) or a 2 (too light, requiring unsustainably high stroke rates). Set your damper during warm-up. Arrive at your rower on race day and adjust it before you strap in. It takes 2 seconds and can save you 10+.
5. Watching total meters instead of split. Staring at the meter counter (0... 47... 112... 189...) is demoralizing and encourages you to row harder to "make the number move." Switch your PM5 display to show /500m split as the primary number. Focus on maintaining your target split. The meters take care of themselves. For more race-specific mental strategies, our HYROX® rowing race tips covers what to focus on during the row.
Inefficient Rower
- Opens at 1:45/500m, fades to 2:15 by 750m
- Stroke rate: 34+ s/m throughout
- Arms pulling before legs straighten
- White-knuckle grip on the handle
- Damper at whatever the last person left
- Finishes in 4:10, stumbles to Farmers Carry
Efficient Rower
- Opens at 2:02/500m, closes at 1:58
- Stroke rate: 28-30 s/m with a 32 s/m push at the end
- Legs drive first, arms finish clean
- Relaxed hook grip, fresh forearms
- Damper pre-set to personal drag factor target
- Finishes in 4:00, walks confidently to Farmers Carry
For a broader look at how the rowing station compares to the SkiErg (Station 1) in terms of technique and pacing demands, our rowing vs SkiErg in HYROX® comparison breaks down how to approach both cardiovascular stations differently.
FAQ
Was this helpful?
More Training Guides

HYROX for Women: Training Plans, Weights & Race Guide
HYROX for women explained: women-specific weights, training plans, hormonal periodization, and race strategy using data from 325,000+ female athletes.

HYROX Race Day: Results, Checklist & Strategy Guide
Decode your HYROX results with age-group benchmarks, station-by-station split analysis, and a proven race day checklist to hit your personal best.

The Complete Hyrox Workout: All Exercises & Stations Explained
Master every Hyrox workout station, running split, and weight standard. Includes pacing strategy, periodization plans, and programming for all divisions.
Know Where You Stand
Reading is good. Knowing exactly where your minutes are hiding is better. Get your race breakdown and a plan that targets your weakest stations.
Analyze My Race