Hyrox Sandbag Lunges: Weight, Technique, Training & Alternatives
Master Hyrox sandbag lunges with expert guidance on weights, technique, pacing strategies for the 100m station, and training plans to slash your race time.

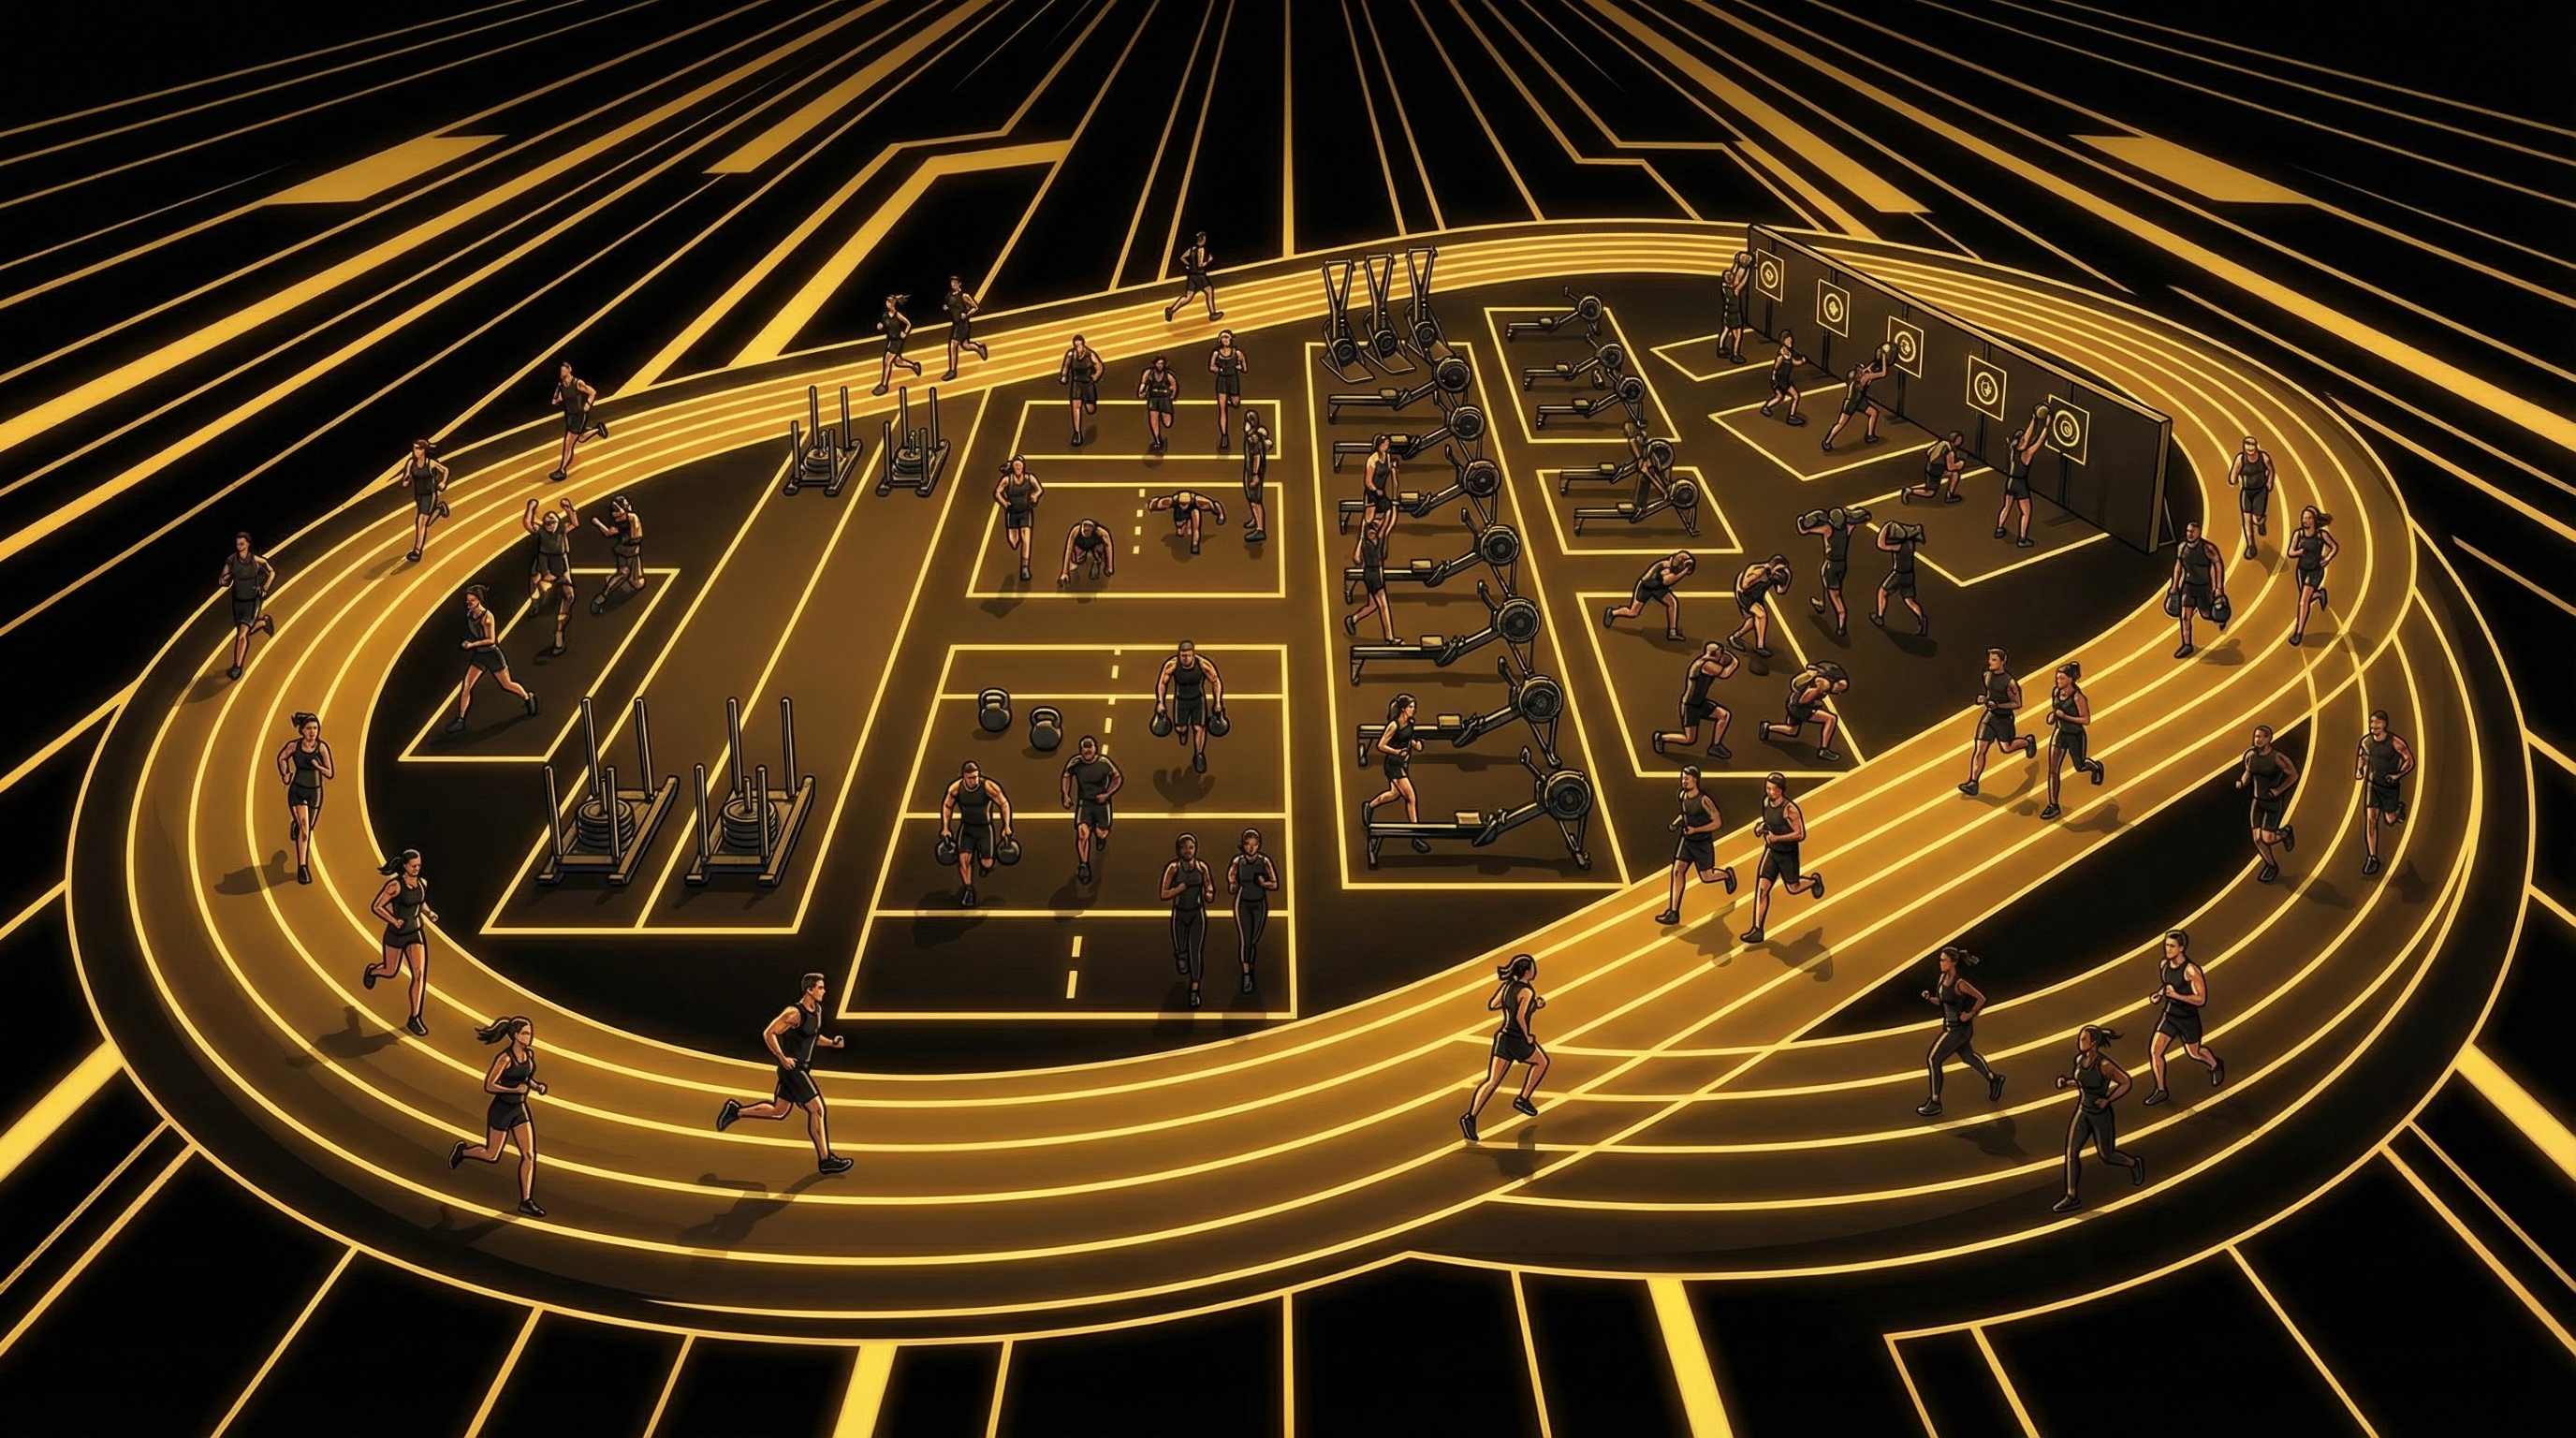
Station 7 is where legs break. After 7km of running and six stations of full-body punishment, you're handed a sandbag and told to lunge 100 meters. Sandbag lunges are the penultimate test in a HYROX® race, and they expose every weakness you've been hiding: quad endurance, hip stability, core strength, mental grit. There's nowhere left to hide.
Across 800,000+ race entries in the ROXBASE database, the lunge station consistently ranks among the top 3 slowest stations relative to athlete expectations. The reason is simple: athletes underestimate 100 meters when they're carrying 10-30kg on fatigued legs. That distance doesn't sound far. On race day, it feels infinite.
This page covers everything you need to know about the HYROX® sandbag lunge: the exact weights by division, the technique that separates fast finishers from cramping walkers, the muscles you need to train, and the workouts that prepare your body for what's coming. Specifics, not generalities. Data, not guesswork.
In HYROX®: Distance, Weight & Rules
The sandbag lunge station sits at position 7 in the HYROX® race sequence. You've already completed the SkiErg, Sled Push, Sled Pull, Burpee Broad Jumps, Rowing, and Farmers Carry. You've run 7km. And now you lunge 100 meters with a sandbag. There is no shortcut.
The rules are straightforward. You must lunge forward with each step, bringing your rear knee to the ground (or close to it) before stepping through. The sandbag must stay in contact with your body throughout. You can hold it in Zercher position (cradled in your elbows), on one shoulder, or across both shoulders. No dragging it. No shuffling forward without a proper lunge motion.
If a judge determines your knee isn't dropping low enough or you're walking rather than lunging, they'll call you back. In a race where every second counts, re-doing steps because of sloppy form is an expensive mistake. For a complete breakdown of the 100-meter distance and how to split it, check out our HYROX® Lunges 100m Pacing guide.
The lunge station typically takes athletes between 2:00 and 5:30 depending on division, fitness level, and pacing strategy. Open division athletes average around 3:00-4:00 minutes. Pro athletes push sub-2:30. The gap between a well-prepared athlete and one who neglected lunge training can be 90+ seconds on this single station.
Weight by Division & Gender
Sandbag weight varies by division and gender. Getting this wrong in training means showing up unprepared. Here's every HYROX® lunge weight broken down:
| Division | Men | Women |
|---|---|---|
| Open Singles | 20 kg | 10 kg |
| Pro Singles | 30 kg | 20 kg |
| Doubles Open | 20 kg | 10 kg |
| Doubles Pro | 30 kg | 20 kg |
For women racing in Open Singles, 10kg might sound manageable in isolation. After 7km of running and six prior stations, that 10kg sandbag will test you. For men in Pro, 30kg turns each of the roughly 80-100 lunge steps into a serious strength-endurance effort. If you're a woman preparing for your first race, our HYROX® Women's Lunge Weight & Tips post covers specific strategies for the lighter sandbag.
Open Singles
Men: 20 kg / Women: 10 kg. The most popular division, where 66% of all race entries compete.
Pro Singles
Men: 30 kg / Women: 20 kg. A 50-100% weight increase over Open demands targeted strength training.
Doubles (Open & Pro)
Same weights as Singles. Each partner lunges the full 100m at the division weight. No splitting the distance.
100m Pacing Strategy
100 meters sounds short. It's approximately 80-100 individual lunge steps, depending on your stride length and height. At a moderate pace, that's 2:30-4:00 of continuous unilateral leg work under load. Pacing this wrong costs more time than pacing it conservatively.
The most common mistake: starting too fast. Athletes come off the 7th run segment, grab the sandbag, and hammer out the first 20 meters at race pace. By 40 meters, their quads are screaming. By 60 meters, they're stopping every 5 steps. The back half takes twice as long as the front half.
A smarter approach: split the 100m into four 25-meter segments. Hold a steady rhythm through segments 1-3, then push harder in the final 25 meters when the end is in sight. Aim for consistent step tempo rather than starting fast and fading.
Coach's Note: Practice counting your steps for 100m in training. If you know it takes you 90 steps, you can break that into three sets of 30. Having a known number to count toward is a powerful mental tool when fatigue sets in at Station 7.
Your breathing pattern matters as much as your step speed. Exhale on the drive up from each lunge, inhale as you step forward. This rhythm keeps your core engaged and prevents the shallow, panicked breathing that accelerates fatigue. For a deeper dive into pacing the full 100 meters, read our HYROX® Lunges 100m Pacing breakdown.
Technique & Form
A sandbag lunge performed well looks smooth and controlled. A sandbag lunge performed poorly looks like a slow-motion collapse repeated 90 times. The difference between these two isn't strength. It's technique. And technique degrades under fatigue, which means you need to drill it until it's automatic.
Three fundamentals apply to every rep. First: your torso stays upright. The moment you lean forward excessively, the sandbag shifts, your lower back takes load it shouldn't, and your quads work harder to compensate. Second: your front knee tracks over your toes, not collapsing inward. Valgus knee collapse under load is the fastest path to a race-ending injury. Third: your rear knee touches or nearly touches the ground with control, not by dropping into it. Each rep is a deliberate movement, not a fall.
Stride length deserves attention. Too short and you add 15-20 extra steps across 100m. Too long and you lose balance, waste energy recovering, and put excessive strain on your hip flexors. Aim for a stride where your front shin is roughly vertical at the bottom of the lunge. For most athletes, this means a step distance of about 70-90cm.
Zercher vs Shoulder Position
The Zercher position means cradling the sandbag in the crooks of your elbows, arms bent, bag resting against your torso. The shoulder position means hoisting the sandbag onto one shoulder (or draped across both). Each has trade-offs, and the right choice depends on your body and the sandbag weight.
Zercher Position
- Lower center of gravity, better balance
- Core and biceps engaged continuously
- Easier to maintain upright torso
- Arms fatigue faster, especially at 20-30kg
- Preferred by ~60% of Open athletes
Shoulder Position
- Frees up arms, reduces bicep fatigue
- Higher center of gravity, less stable
- Requires switching sides to avoid imbalance
- Preferred for heavier loads (Pro division)
- Switch shoulders every 25m to stay balanced
For Open division athletes carrying 10-20kg, the Zercher position is often more stable and easier to control. For Pro division athletes handling 20-30kg, the shoulder carry reduces arm fatigue over 100 meters. If you choose the shoulder position, plan to switch sides every 25 meters. Carrying 30kg on one shoulder for the full distance creates an asymmetry that compounds into compensatory movement patterns and slower times.
Whichever position you choose, practice it under fatigue. A technique that feels comfortable when you're fresh may fall apart after 7km of running. Your training sessions should include lunges after running or other lower-body work, so you learn what your form looks like when it matters most.
Walking Lunges with Sandbag
The HYROX® lunge is a walking lunge by nature. You step forward, drop, drive, and step through into the next rep. No pausing in a standing position between reps. This continuous forward movement is what makes sandbag walking lunges so taxing: your muscles never get a full rest between reps.
The step-through is where most athletes lose time. After driving up from the lunge, they pause, re-balance, and then step forward. That 0.5-second pause, repeated 90 times, adds 45 seconds to your station time. Drill the transition: as your front leg drives up, your rear leg should already be swinging forward into the next step.
Foot placement also matters. Land each step with your foot pointing straight ahead, not turned out. A turned-out foot opens the hip but weakens your drive angle. Keep your feet hip-width apart (not on a tightrope line) for stability. This is especially critical when carrying the sandbag in the Zercher position, where a narrow base of support invites wobbling.
Coach's Note: If you're new to sandbag lunges, start with bodyweight walking lunges for sets of 20 steps. Add a light sandbag (5-10kg) once your form stays consistent through all 20. Build to race weight only when your technique doesn't break down under fatigue. Our Sandbag Lunges for Beginners guide walks you through this progression step by step.
Muscles Worked
The sandbag lunge is a full-body exercise disguised as a leg movement. Yes, your quads and glutes do the heavy lifting. But your core, hip stabilizers, grip, and upper back all work continuously to keep you upright and moving forward with load. Understanding which muscles sandbag lunges work helps you target weaknesses in training.
Quadriceps: Your quads are the primary mover, controlling the descent and driving the ascent of each lunge. The front leg's quad handles roughly 60-70% of the work in a forward walking lunge. Over 90 reps, this becomes a quad endurance test that rivals any leg press circuit.
Glutes: Your glute max fires on every drive phase. Your glute med stabilizes your pelvis to prevent side-to-side sway. Weak glutes force your lower back to compensate, which is a recipe for pain at meter 60.
Core (Rectus Abdominis, Obliques, Erector Spinae): In the Zercher position, your anterior core works to resist forward flexion from the sandbag's weight. In the shoulder position, your obliques work overtime to resist lateral flexion. Either way, your core is working isometrically on every single rep.
Hip Flexors: The rear leg's hip flexor stretches under load at the bottom of each lunge, then contracts to pull the leg forward for the next step. Tight or weak hip flexors create a shortened stride and slow you down.
Upper Back and Biceps (Zercher): Holding a 20kg sandbag in the Zercher position for 3+ minutes creates serious isometric demand on your biceps and upper-back musculature. This is often the first thing to fatigue in lighter, less upper-body-strong athletes.
Grip and Traps (Shoulder): The shoulder carry loads your traps and requires grip engagement to stabilize the bag. Switching sides distributes this load, but accumulated fatigue from the Farmers Carry at Station 6 means your grip is already compromised.
MUSCLE ENGAGEMENT BREAKDOWN
Quadriceps: ~35% of total work. Glutes: ~25%. Core: ~20%. Upper body (grip, back, arms): ~15%. Hip flexors and stabilizers: ~5%. The sandbag lunge is roughly 60% lower body, 20% core, 20% upper body when carried in Zercher position.
Benefits
The benefits of sandbag lunges go far beyond HYROX® preparation, though that's reason enough to train them. Here's what you gain from making this movement a staple:
Unilateral strength and balance. Every lunge is a single-leg exercise. This exposes and corrects left-right imbalances that bilateral movements like squats can mask. ROXBASE data shows that athletes who include unilateral leg work in their training improve their lunge station time by an average of 12% over a 12-week block compared to those who only squat bilaterally.
Sport-specific conditioning. No machine replicates the demands of walking 100m under load with a sandbag in the Zercher position. The instability of the sandbag (the sand shifts with every step) recruits stabilizer muscles that a barbell lunge doesn't touch. This makes it one of the most HYROX®-specific exercises you can train.
Grip and core endurance under fatigue. Holding 10-30kg for 2-4 minutes straight while your legs are working builds isometric endurance in your arms, shoulders, and core. This transfers to better performance on the Wall Ball station that follows, where your arms and core are needed for another 75-100 reps.
Mental resilience. There's no sugarcoating this: sandbag lunges hurt. Training them under fatigue teaches you to keep moving when your body wants to stop. That mental skill is worth more than any physical adaptation when you're at meter 70 on race day.
Functional movement quality. The lunge pattern strengthens your ankles, knees, and hips through a full range of motion under load. This translates to better running mechanics, reduced injury risk, and improved performance on every other HYROX® station that demands lower-body work.[1]
Workouts for HYROX®
Training sandbag lunges for HYROX® is not about doing lunges until you can't walk. It's about building the specific endurance and strength to perform 80-100 reps under load after 7km of running and six other stations. That requires structured sandbag lunge workouts that progress over time.
Here are three workouts, each targeting a different training quality. Rotate through them across your training week, or follow a structured plan like the one in our 6-Week Sandbag Lunge Workout Plan.
Workout 1: Station Simulation (Endurance)
| Exercise | Sets × Reps/Distance | Rest |
|---|---|---|
| Run | 1 × 1km @ race pace | Straight into lunges |
| Sandbag Walking Lunges (race weight) | 1 × 100m | Time your split |
| Rest | - | 3:00 |
| Repeat | 3-4 rounds total | - |
This workout mimics the race transition from running to lunging. Your goal: keep your 100m lunge time within 10% across all rounds. If round 1 is 3:00 and round 4 is 4:30, you started too fast or your endurance isn't there yet.
Workout 2: Strength Building (Capacity)
| Exercise | Sets × Reps | Rest |
|---|---|---|
| Sandbag Zercher Lunges (race weight + 5kg) | 4 × 20 steps | 90 sec |
| Bulgarian Split Squats (bodyweight or light DB) | 3 × 12 per leg | 60 sec |
| Plank Hold | 3 × 45 sec | 45 sec |
Training 5kg above race weight makes race weight feel lighter. This is the principle of overload: your body adapts to the heavier stimulus, and the actual race load becomes more manageable. After 4 weeks of this, 20kg will feel like the 15kg it didn't feel like in week one.
Workout 3: Fatigue Resistance (Race Readiness)
| Exercise | Sets × Reps | Rest |
|---|---|---|
| Rowing | 1 × 1,000m @ moderate effort | Straight into carry |
| Farmers Carry (race weight) | 1 × 200m | Straight into lunges |
| Sandbag Walking Lunges (race weight) | 1 × 100m | 3:00 |
| Repeat | 2-3 rounds | - |
This workout stacks Stations 5, 6, and 7 back-to-back. It teaches your body to lunge when your grip is shot from the Farmers Carry and your legs are heavy from rowing. Race simulation doesn't get more specific than this.
Coach's Note: Track your 100m lunge time in every training session. A 15-second improvement over 8 weeks is a realistic target for intermediate athletes. ROXBASE tracks this automatically and adjusts your training load based on your weekly RPE feedback, so progress stays consistent without overtraining.
Variations
Sandbag reverse lunges, lateral lunges, and deficit lunges all build the same foundation but target slightly different muscle groups and movement patterns. Variation prevents overuse injuries and trains your legs through ranges of motion the standard walking lunge doesn't reach.
Sandbag Reverse Lunges: Step backward instead of forward. This shifts more load onto your glutes and reduces shear force on the front knee. If you have knee sensitivity, reverse lunges let you train the lunge pattern with less discomfort. They're also easier to balance, making them a good option for beginners working up to the walking version. Use the same weight as your walking lunge, 3-4 sets of 12 per leg.
Sandbag Lateral Lunges: Step to the side, sitting your hips back and keeping the sandbag in the Zercher position. This trains your adductors and lateral hip stabilizers, muscles that support knee stability during forward lunges. 3 sets of 8-10 per side is plenty.
Deficit Sandbag Lunges: Stand on a 4-6 inch platform and lunge forward off the edge. The extra range of motion demands more from your quads and hip flexors. Use 5-10kg less than your race weight. This is an advanced variation, not for your first week of training.
Sandbag Front-Rack Lunges: Hold the sandbag higher, almost at chest level with your hands clasped around it. This shifts the center of gravity higher and increases core demand. A useful variation for athletes who find the standard Zercher position too easy at lighter weights.
Sandbag Overhead Lunges: Press the sandbag overhead and hold it there while lunging. Use a light weight (5-10kg maximum). This variation builds shoulder stability and thoracic extension. It's a supplemental exercise, not a race simulation tool.
Alternatives
No sandbag? No problem. The movement pattern is trainable with other equipment. The key is matching the demand: unilateral leg work, loaded, over high rep counts. Here's every practical sandbag lunge alternative, ranked by how closely they replicate the race station.
Best Alternatives (Closest to Race)
- Dumbbell Walking Lunges: hold DBs at sides or in Zercher
- Kettlebell Goblet Walking Lunges: closest core demand to Zercher
- Barbell Front-Rack Walking Lunges: heavier, builds strength reserve
- Weighted Vest Walking Lunges: hands-free, good for 100m efforts
Backup Alternatives (Different But Useful)
- Bodyweight Walking Lunges: high reps (150+) for endurance
- Step-Ups with Load: builds single-leg drive strength
- Bulgarian Split Squats: stationary, targets quads and glutes
- Sled Drag (backward): trains legs without lunge pattern
If you're training at home with limited equipment, a heavy backpack works surprisingly well. Fill it with books or water bottles to approximate your race weight. The instability of the shifting contents mimics the sandbag better than a fixed dumbbell does.
ROXBASE accounts for equipment access across four tiers: full HYROX® gym, standard gym, basic/home gym, and bodyweight only. Across our library of 216 exercises, every movement has prioritized alternatives. Free weights are always prioritized over machines (barbell → dumbbell → kettlebell → bodyweight → machine), so you always get the most effective substitute for your setup. For a full equipment guide, our Best Sandbag for HYROX® Training post covers the best options for home training.
CrossFit vs HYROX®
Sandbag lunges appear in both CrossFit and HYROX®, but the demands are different enough that training for one doesn't fully prepare you for the other. CrossFit programs lunges as part of varied, short-duration WODs (Workouts of the Day). HYROX® demands 100 meters of continuous walking lunges at a fixed weight, performed after 50+ minutes of racing. The context changes everything.
| Factor | CrossFit | HYROX® |
|---|---|---|
| Typical Distance/Reps | 20-50 reps per set | 100m continuous (~80-100 reps) |
| Weight | Varies by WOD (often heavier, shorter) | Fixed: 10-30kg by division |
| Equipment | Barbell, DB, sandbag, or odd objects | Sandbag only |
| Prior Fatigue | Moderate (within a 10-20 min WOD) | Severe (50+ min of racing) |
| Carry Position | Front rack, overhead, or any | Zercher or shoulder (athlete's choice) |
| Recovery Between Sets | Often built into WOD transitions | None - continuous 100m effort |
CrossFit athletes transitioning to HYROX® often have the raw strength for the lunge station but lack the specific endurance for 100 continuous meters. A CrossFitter who can lunge 60kg for 20 reps might still cramp at meter 70 with a 20kg sandbag because they've never trained the sustained, moderate-load endurance the HYROX® station demands.
The fix: add 100m continuous lunge efforts to your training, ideally after a run or rowing piece. CrossFit's strength base gives you a head start. The missing piece is fatigue-resistance at moderate loads over longer durations. If you're coming from CrossFit, our Sandbag Lunge Race Tips post covers how to adapt your existing fitness to the HYROX® context.
On the flip side, HYROX® athletes can learn from CrossFit's emphasis on heavier loading. Training lunges at 1.5× race weight for short sets (10-12 reps) builds the strength reserve that makes race weight feel lighter. A mixed approach, some heavy/short sets and some race-weight/long sets, produces the best results.[2]
The lunge station sits between the Farmers Carry (Station 6) and Wall Balls (Station 8). This placement is strategic and punishing. Your grip is fatigued from carrying heavy dumbbells or kettlebells for 200m. Your quads are heavy from 7km of cumulative running. And you know that after the lunges, you still have 75-100 Wall Balls and a final 1km run.
Smart race strategy accounts for what comes before and after. Here are the three principles that separate fast lunge splits from slow ones:
1. Shake out your arms during the 7th run. The transition from Farmers Carry to Run 7 to Lunges is brutal on your forearms and biceps. During the 1km run before the lunge station, actively open and close your hands, shake out your arms, and roll your shoulders. You need those arms fresh enough to hold the sandbag for 3+ minutes.
2. Decide your carry position before you pick up the bag. Don't waste 5-10 seconds at the start of the station figuring out how to hold it. Know your plan: Zercher for the first 50m, shoulder for the second 50m. Or Zercher the whole way. Whatever you've practiced. Decide before race day.
3. Save 10% for Wall Balls. Going all-out on lunges and then collapsing into the Wall Ball station is a common mistake. A controlled 3:15 lunge split followed by a strong 4:00 Wall Ball split is faster overall than a 2:50 lunge split followed by a 5:00 Wall Ball split. Think of Stations 7 and 8 as a pair, not as individual efforts.
Coach's Note: Among returning athletes in the ROXBASE database, 70% improve their overall race time. The average improvement is 3 minutes and 27 seconds. A significant portion of that comes from better pacing strategy across the later stations, not from getting physically fitter. Learn more in our Station 7 Race Tips guide.
Training sandbag lunges year-round at the same volume and intensity leads to stagnation and overuse injuries. A periodized approach (structuring your training into phases with different goals) produces better results over 8-16 week training blocks.[3]
Weeks 1-4: Build the Base. Focus on technique and volume at moderate load. Use 70-80% of your race weight for sets of 40-50m. Total weekly volume: 200-300m of lunges. The goal is movement quality and muscular endurance.
Weeks 5-8: Load and Lengthen. Increase to race weight. Extend sets to 75-100m. Add 1 session per week of heavier-than-race-weight lunges (short sets: 4 × 20 steps at race weight + 5kg). Total weekly volume: 300-400m of lunges.
Weeks 9-12: Race Simulation. Train 100m efforts at race weight after running or other station work. Reduce total volume slightly (200-300m per week) but increase specificity. Every lunge session should follow a conditioning element. Time your 100m splits and track improvement.
Race Week: Taper. Reduce to a single session of 50m at race weight, 4-5 days before the race. Keep the movement pattern fresh without creating fatigue. Trust the training you've done.
Progressive overload (gradually increasing the demand on your muscles) is the engine of this approach. Each week should be slightly harder than the last, whether through more distance, more weight, less rest, or more prior fatigue. But the increases should be small: 5-10% per week maximum. If you're using ROXBASE, your plan adjusts these variables automatically based on your weekly RPE feedback, so you progress at the right rate without guessing.
FAQ
Sources
Mikkonen RS, Ihalainen JK, Hackney AC (2024). Perspectives on Concurrent Strength and Endurance Training in Healthy Adult Females: A Systematic Review. *Sports medicine (Auckland, N.Z.)*. https://doi.org/10.1007/s40279-023-01955-5 ↩
Ramos-Campo DJ, Andreu-Caravaca L, Clemente-Suárez VJ (2025). The Effect of Strength Training on Endurance Performance Determinants in Middle- and Long-Distance Endurance Athletes: An Umbrella Review of Systematic Reviews and Meta-Analysis. *Journal of strength and conditioning research*. https://doi.org/10.1519/JSC.0000000000005056 ↩
Ramos-Campo DJ, Andreu-Caravaca L, Clemente-Suárez VJ (2025). The Effect of Strength Training on Endurance Performance Determinants in Middle- and Long-Distance Endurance Athletes: An Umbrella Review of Systematic Reviews and Meta-Analysis. *Journal of strength and conditioning research*. https://doi.org/10.1519/JSC.0000000000005056 ↩
Prieto-González P, Sedlacek J (2022). Effects of Running-Specific Strength Training, Endurance Training, and Concurrent Training on Recreational Endurance Athletes' Performance and Selected Anthropometric Parameters. *International journal of environmental research and public health*. https://doi.org/10.3390/ijerph191710773 ↩
Was this helpful?
More Training Guides

HYROX for Women: Training Plans, Weights & Race Guide
HYROX for women explained: women-specific weights, training plans, hormonal periodization, and race strategy using data from 325,000+ female athletes.

HYROX Race Day: Results, Checklist & Strategy Guide
Decode your HYROX results with age-group benchmarks, station-by-station split analysis, and a proven race day checklist to hit your personal best.
The Complete Hyrox Workout: All Exercises & Stations Explained
Master every Hyrox workout station, running split, and weight standard. Includes pacing strategy, periodization plans, and programming for all divisions.
Know Where You Stand
Reading is good. Knowing exactly where your minutes are hiding is better. Get your race breakdown and a plan that targets your weakest stations.
Analyze My Race