Hyrox Sled Pull: Rope Technique, Weight, Workouts & Alternatives
Master the Hyrox sled pull with expert rope technique, weight standards by gender, workout progressions, and alternatives to hit your race-day target time.
The sled pull breaks more HYROX® racers than any other station. Not because of the weight. Because of the rope. Fifty meters of pulling a loaded sled, hand over hand, while your legs burn from the preceding 1km run and your grip screams for mercy. It's the station with the largest improvement potential for returning athletes, according to data from 800,000+ race entries. And that means it's also the station where proper technique and targeted training pay the highest dividends.
This page covers everything you need to pull faster: the official weight standards, rope technique that saves your grip, the muscles that power each pull, workouts built for race day, and alternatives for when you don't have a sled. Every recommendation is backed by race data from 700,000+ athlete profiles across 30+ countries.
Sled Pull in HYROX®: Distance, Weight & Rules
The sled pull is station 3 of 8 in every HYROX® race. You've already completed the SkiErg and sled push, plus three 1km runs, before you touch the rope. That's roughly 3km of running and two upper-body-heavy stations already in your legs and lungs.
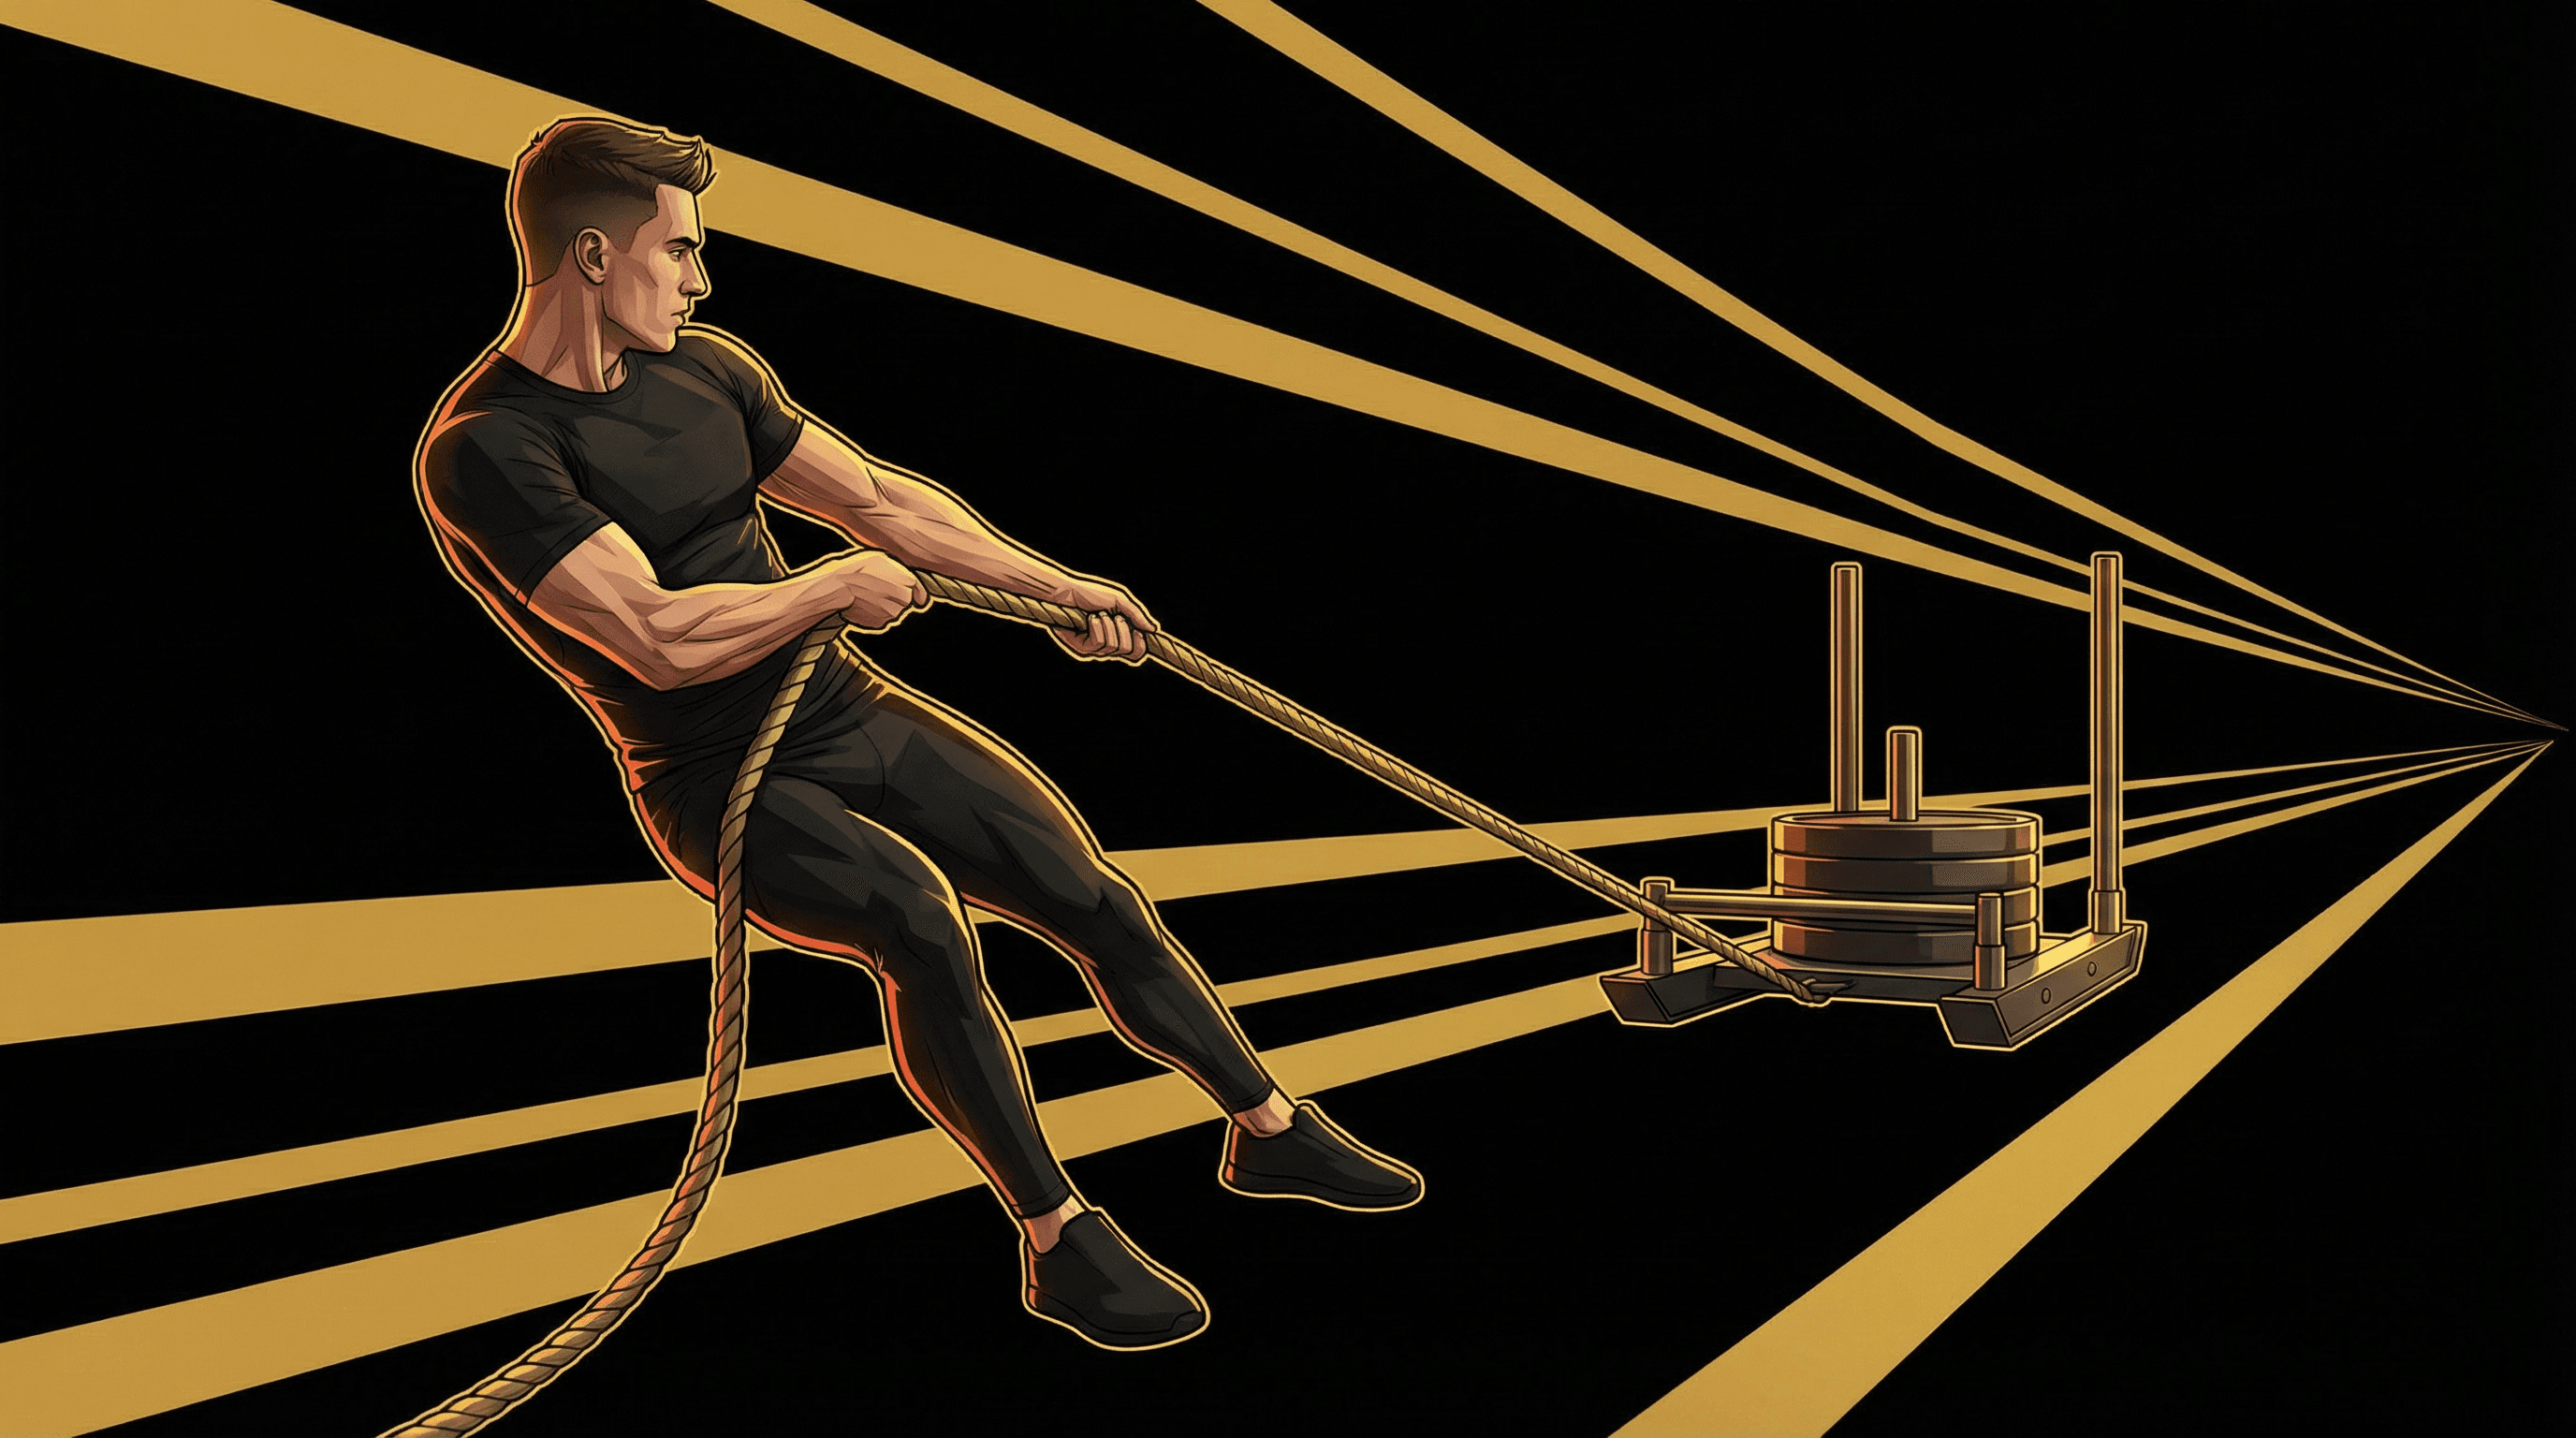
Here's what the station looks like: a weighted sled sits 50 meters away from you, connected by a heavy rope. You stand at one end, pull the sled toward you hand over hand until it crosses the finish line, then move on to the next 1km run. You may not walk toward the sled or wrap the rope around your body. Every meter of rope must pass through your hands.
The sled itself rides on turf or carpet, and friction varies by venue. This matters more than most athletes realize. A sled that glides easily in training can feel 20-30% heavier on a high-friction competition surface. That's why practicing at or above race weight is non-negotiable.
In Doubles format (which accounts for 66% of all race entries), partners alternate stations but the sled weight stays the same per pull. One partner handles the full 50m. There's no splitting the distance. For a deeper breakdown of race-day tactics, see our Sled Pull Race Tips for HYROX®.
Weight Standards by Division
Sled pull weights vary by division, gender, and whether you're racing Singles or Doubles. The sled base weight itself is included in the listed totals below. For a printable reference, check the full HYROX® Sled Pull Weight Chart.
| Division | Women's Weight | Men's Weight |
|---|---|---|
| Open Singles | 78 kg | 103 kg |
| Pro Singles | 103 kg | 153 kg |
| Doubles Open | 78 kg | 103 kg |
| Doubles Pro | 103 kg | 153 kg |
Coach's Note: Pro men pull 153 kg. That's about 50% more than Open. If you're eyeing a move to Pro, your sled pull training volume needs to increase by at least that same margin. Don't underestimate the jump.
The weight difference between Open and Pro is one of the biggest across all eight stations. Training at race weight (or 10-15% above it) at least once a week ensures you won't be shocked on competition day.
Rope Hand-Over-Hand Technique
Technique on the sled pull matters more than raw strength. A well-executed hand-over-hand pull can save 15-25 seconds compared to a muscled, sloppy approach. That's because inefficient pulling costs you grip endurance, and once your forearms flood with lactate, every subsequent meter slows down exponentially.
The hand-over-hand method is the only legal pulling style in HYROX®. You cannot wrap the rope around your arms, use your body as an anchor point, or walk backward toward the sled. You stand (or sit) in one spot, and the rope moves through your hands until the sled crosses the line. For a full visual breakdown, read our Sled Pull Rope Technique Guide.
Anchoring, Stance & Pull Mechanics
Your stance determines everything. A weak base means your arms do all the work. A strong base means your legs, hips, and back share the load, which is exactly what you want across 50 meters of pulling.
Start by sitting low. Your feet should be wider than shoulder-width, toes pointed slightly outward, knees bent at roughly 90 degrees. Think of a low squat hold or a seated rowing position. The lower your center of gravity, the more force you can generate without your body sliding forward.
Anchor your feet against any available barrier. Most HYROX® venues have a low wall or plate at the pulling station. Brace both feet firmly against it. If there's no barrier, stagger your stance with one foot forward and dig your heels into the ground.
Now the pull itself. Reach forward with one hand, grab the rope, and pull it toward your hip using a straight arm path. As that hand reaches your hip, your other hand is already reaching forward. The rhythm is continuous: reach, grab, pull to hip, release, reach again. No pausing between pulls.
Coach's Note: Think "elbows to ribs," not "hands to chest." Pulling to your hips engages your lats and posterior chain. Pulling to your chest isolates your biceps, which will fail before the sled crosses the line.
Keep your torso slightly reclined (about 15-20 degrees behind vertical). This lets you use your bodyweight as a counterbalance. Lean too far back and you lose pulling range. Stay too upright and your arms fight gravity alone. For a detailed walkthrough of the hip hinge mechanics, check out our Sled Pull Technique: Hip Hinge & Hand-Over-Hand guide.
Grip & Speed
Grip failure is the number-one reason athletes slow down on the sled pull. Your forearms are a small muscle group. Once they're gone, no amount of willpower brings them back mid-race.
Use an overhand grip (palms down) with your thumbs wrapped around the rope. This engages your forearm flexors and lats together. Some athletes prefer an alternating grip (one palm up, one down), which can reduce fatigue on longer pulls. Experiment in training and pick the grip you can sustain for 50 meters without opening your hands.
Speed comes from rhythm, not aggression. The fastest sled pull times in competition come from athletes who maintain a steady 1-pull-per-second cadence. That's roughly 50 pulls (one per meter) completed in under 60 seconds for top Open athletes. Trying to pull faster than your grip can handle leads to fumbles, dropped rope, and wasted seconds.
A useful drill: practice 30-second intervals at a consistent cadence. Count your pulls. If you get 28-32 pulls in 30 seconds with no grip slip, your pace is dialed. For grip-specific training protocols, see our Grip Training for Sled Pull guide.
Muscles Worked
The sled pull is a full posterior chain exercise disguised as an arm movement. Yes, your biceps and forearms work. But they aren't the primary movers. If they are, your technique needs fixing.
The latissimus dorsi (lats) are the engine. These are the largest muscles in your back, and they generate the bulk of pulling force when you drive the rope from outstretched arm to hip. Strong lats mean each pull covers more rope per stroke, which means fewer total pulls to finish the 50 meters.
Your rhomboids and rear deltoids stabilize your shoulder blades during each stroke. Without them, your shoulders round forward and your pulling power drops by up to 20%. The erector spinae (lower back muscles) keep your torso at that slight recline angle throughout the entire pull. They work isometrically, which means they hold position rather than creating movement.
Below the waist, your quads and glutes anchor your body against the rope tension. Every pull tries to drag you forward. Your legs resist that force. Weak legs mean you slide toward the sled, lose leverage, and turn a back exercise into a bicep curl. Strong legs keep you planted and let your lats do the heavy work.
Your forearms and grip muscles (flexor digitorum, brachioradialis) are the weak link in the chain. They fatigue fastest and recover slowest. Training them specifically for endurance, not max strength, is what separates athletes who finish the sled pull in 45 seconds from those who take 90+.
For a complete muscle-by-muscle breakdown with targeted exercises for each, read Sled Pull Muscles Worked.
MUSCLE CONTRIBUTION BREAKDOWN
Primary movers: Lats, biceps, forearms (grip)
Stabilizers: Rhomboids, rear delts, erector spinae, core
Anchor muscles: Quads, glutes, calves
The posterior chain does 70%+ of the work. Train accordingly.
Workouts for HYROX®
Training the sled pull once a week is the minimum for measurable improvement. Twice a week is where the curve steepens. Race data shows sled pull has the largest improvement potential for returning athletes: 70% of returners improve their overall time, and the sled pull station is where the biggest single-station gains appear.
The workouts below are built for HYROX® performance. That means they prioritize muscular endurance over one-rep max, simulate the fatigue context of race day, and include the running component where possible. For the full library of sled pull workouts with progression schemes, see Sled Pull Workouts for HYROX®.
Pulling Power Workouts
These sessions focus on pulling strength and endurance in isolation. Run them on days when you want to target the sled pull without combining other stations.
Workout 1: Race-Pace Repeats
- 5 rounds of 50m sled pull at race weight
- Rest 90 seconds between rounds
- Goal: maintain the same pace (within 5 seconds) across all 5 rounds
Workout 2: Grip Endurance Builder
- 3 rounds of: 30m sled pull (race weight) + 20 heavy dumbbell rows per arm (no rest between movements)
- Rest 2 minutes between rounds
- The rows pre-fatigue your lats and grip, simulating the accumulated fatigue of stations 1-2 before the pull
Workout 3: Overload Pulls
- 4 rounds of 25m sled pull at 120% of race weight
- Rest 2 minutes between rounds
- This builds absolute pulling strength. Race weight will feel lighter after 3-4 weeks of overload training.
If you're new to sled training, start with lighter loads and focus on technique before adding weight. Our Sled Pull for Beginners guide walks you through the first four weeks.
Push & Pull Combined
In HYROX®, the sled push (station 2) comes right before the sled pull (station 3), with only a 1km run between them. Training both together teaches your body to manage fatigue across these back-to-back stations.
Workout 4: Push-Run-Pull Simulation
- 50m sled push at race weight
- 1km run at race pace
- 50m sled pull at race weight
- Rest 3 minutes. Repeat 3 times.
Workout 5: Superset Strength
- 4 rounds of: 25m sled push + 25m sled pull (no rest between push and pull)
- Rest 2 minutes between rounds
- Use 80% of race weight. Focus on smooth transitions and consistent pacing.
The push-pull combination is where most athletes discover their weaknesses. If you slow down dramatically on the pull after the push, your posterior chain needs more work relative to your quads and chest. For more combined programming, read Combined Push & Pull Workout.
Coach's Note: Time each sled pull effort in training. Write it down. If your third round is more than 20% slower than your first, the issue is endurance, not strength. Adjust training accordingly.
Alternatives
Not every gym has a sled and a 50-meter track. The good news: the pulling movement pattern is one of the easiest to replicate with standard equipment. ROXBASE's training engine contains 216 exercises with prioritized alternatives for every movement. For sled pull specifically, it selects substitutes that match the same muscle groups and endurance demands.
The best alternatives share three traits with the sled pull: they load the posterior chain, tax your grip, and require sustained effort over time (not one explosive rep). Here are the top substitutes ranked by transfer to race performance.
Best Gym Alternatives
- Seated cable row (heavy, 20+ reps): Closest replication of hand-over-hand mechanics
- Single-arm dumbbell rows (3×20 per arm): Builds unilateral pulling strength and grip
- Barbell bent-over rows (4×12-15): Loads the lats heavily with compound movement
- Face pulls with rope (3×25): Targets rear delts and rhomboids
Best Home/Bodyweight Alternatives
- Towel rows on a bar (3×max reps): Trains grip and lats simultaneously
- Inverted rows (4×15): Bodyweight pulling at an adjustable angle
- Band pull-aparts (4×25): Rear delt and upper back endurance
- Dead hangs (3×45 sec): Grip endurance in isolation
ROXBASE automatically substitutes across four equipment tiers: full HYROX® gym, standard gym, basic/home gym, and bodyweight only. Free weight alternatives are always prioritized over machines. You don't need a HYROX® box to train for HYROX®. For the full list of sled pull swaps ranked by effectiveness, see Sled Pull Alternatives.
DIY Options
Building a sled pull setup at home costs less than a month of gym membership. A tire, a rope, and some weight plates are all you need for a functional training sled.
The Tire Sled: Find a used car tire (free at most tire shops). Drill a hole through the center, thread a 15-meter rope through it, and stack weight plates inside the tire. Total cost: $15-25 for the rope. The tire provides ground friction similar to a competition sled on turf.
The Bucket Sled: A 5-gallon bucket filled with sand or concrete, with a rope tied to the handle. Weighs roughly 25-35 kg when full. Stack two buckets on a plywood base for heavier loads. Total cost: under $20.
The Duffel Bag Drag: Fill an old duffel bag with sandbags. Tie a rope to the handles. Drag it across grass or concrete. Not as smooth as a sled, but the pulling mechanics are identical.
The key with DIY setups is matching the resistance to your race weight. Weigh your contraption and calibrate. If you're pulling 78 kg on race day, your DIY sled needs to create 78 kg of resistance (including friction). Our DIY Sled Pull Setup: Budget Home Gym Build guide has step-by-step construction plans with photos.
Backward vs Forward Pull
The backward sled pull and the forward (hand-over-hand) sled pull train different muscle groups. Both have a place in HYROX® prep, but only one mirrors the competition movement.
Forward pull (hand-over-hand): This is the HYROX® movement. You face the sled, pull the rope toward you. It loads your lats, biceps, forearms, and upper back. Your legs act as anchors. Upper body endurance is the limiting factor.
Backward sled pull: You attach a belt or harness to the sled and walk backward. This shifts the load entirely to your legs: glutes, hamstrings, and calves do the work. Your arms are almost uninvolved. It's a leg-dominant exercise that builds the hip extension strength you need for running and lunges.
Here's where it gets practical. The backward sled pull is an excellent accessory exercise for HYROX®, but it won't improve your hand-over-hand technique. Use backward pulls for leg conditioning (2-3 sets of 50m at moderate weight) and forward pulls for station-specific practice.
A smart weekly split: one session focused on hand-over-hand pulls at race weight, one session using backward pulls as part of your leg conditioning. This gives you the pulling endurance for station 3 and the hip extension power for the remaining 5km of running after it.
Pull vs Push Differences
The sled push and sled pull appear back-to-back in HYROX® (stations 2 and 3), but they demand opposite muscle groups. Understanding this difference is how you manage fatigue across both.
| Factor | Sled Push (Station 2) | Sled Pull (Station 3) |
|---|---|---|
| Primary muscles | Quads, glutes, chest, triceps | Lats, biceps, forearms, upper back |
| Movement type | Whole-body locomotion | Stationary upper-body pull |
| Limiter | Leg drive and cardiovascular output | Grip endurance and lat stamina |
| Distance | 50m | 50m |
| Heart rate | Peaks higher (full-body exertion) | Lower peak but sustained grip fatigue |
| Weight (Open Men) | 152 kg | 103 kg |
The push taxes your legs and cardiovascular system. The pull taxes your grip and back. This is good news: the muscle groups barely overlap, so your legs get partial recovery during the pull, and your grip gets recovery during the push.
The bad news: the 1km run between them keeps your heart rate elevated. You arrive at the pull station with a high heart rate and hands that may already be fatigued from gripping the push handles. This is why grip endurance training matters more than grip strength.
Smart athletes use the push-to-pull transition as a recovery opportunity. During the 1km run between stations, shake out your hands and arms. Focus on relaxed arm carriage. Save your grip for the rope. For a full comparison with strategic recommendations, see Sled Pull vs Push Differences and Sled Pull vs Sled Push: Muscles & Race Strategy.
How to Improve Sled Pull Speed
Improving your sled pull speed comes down to three factors: grip endurance, pulling power, and pacing strategy. Address all three and you can cut 15-30 seconds off your station time within 6-8 weeks of focused training.
1. Build grip endurance first. Your grip fails before your lats, your back, or your lungs. Train grip endurance with timed holds: dead hangs for 45-60 seconds, farmer's carries for 200m (which conveniently matches the station 6 distance), and high-rep dumbbell rows (20+ per arm). Add grip work to the end of every upper body session, 3 times per week, for 5-10 minutes.
2. Increase pulling volume at race weight. Accumulate distance. Aim for 200-300 meters of total pulling per week at race weight. This could be 4-6 sets of 50m, spread across 2 sessions. Volume at race weight builds the specific endurance your muscles need for competition.
3. Practice under fatigue. The sled pull never happens fresh. You've already completed 3km of running, the SkiErg, and the sled push. Simulate this by running 1km or doing 3-5 minutes of hard rowing before your pull sets. Your training time should reflect a fatigued-state performance, not a fresh one.
4. Refine your cadence. Film yourself pulling. Count your strokes per 10 meters. The target is roughly 10 pulls per 10 meters with no dead time between strokes. If you're taking 13-15 pulls per 10 meters, you're not pulling enough rope per stroke. That's a lat strength issue, not a speed issue.
5. Use overload training strategically. One session every 2 weeks at 110-120% of race weight. Pull 25-30 meters at this heavier weight, then immediately switch to race weight for 50 meters. The contrast makes race weight feel manageable, and your neuromuscular system adapts to recruiting more muscle fibers per pull.
For a complete 8-week speed improvement protocol with weekly progressions, read How to Improve Sled Pull Speed.
Coach's Note: Track your 50m pull time every week under standardized conditions (same weight, same surface, same warm-up). A 2-3 second improvement per week is realistic for the first 6 weeks. After that, gains come in 1-second increments. Consistency beats intensity.
FAQ
Was this helpful?
More Training Guides

HYROX for Women: Training Plans, Weights & Race Guide
HYROX for women explained: women-specific weights, training plans, hormonal periodization, and race strategy using data from 325,000+ female athletes.

HYROX Race Day: Results, Checklist & Strategy Guide
Decode your HYROX results with age-group benchmarks, station-by-station split analysis, and a proven race day checklist to hit your personal best.

The Complete Hyrox Workout: All Exercises & Stations Explained
Master every Hyrox workout station, running split, and weight standard. Includes pacing strategy, periodization plans, and programming for all divisions.
Know Where You Stand
Reading is good. Knowing exactly where your minutes are hiding is better. Get your race breakdown and a plan that targets your weakest stations.
Analyze My Race